How to start or schedule your LIVE
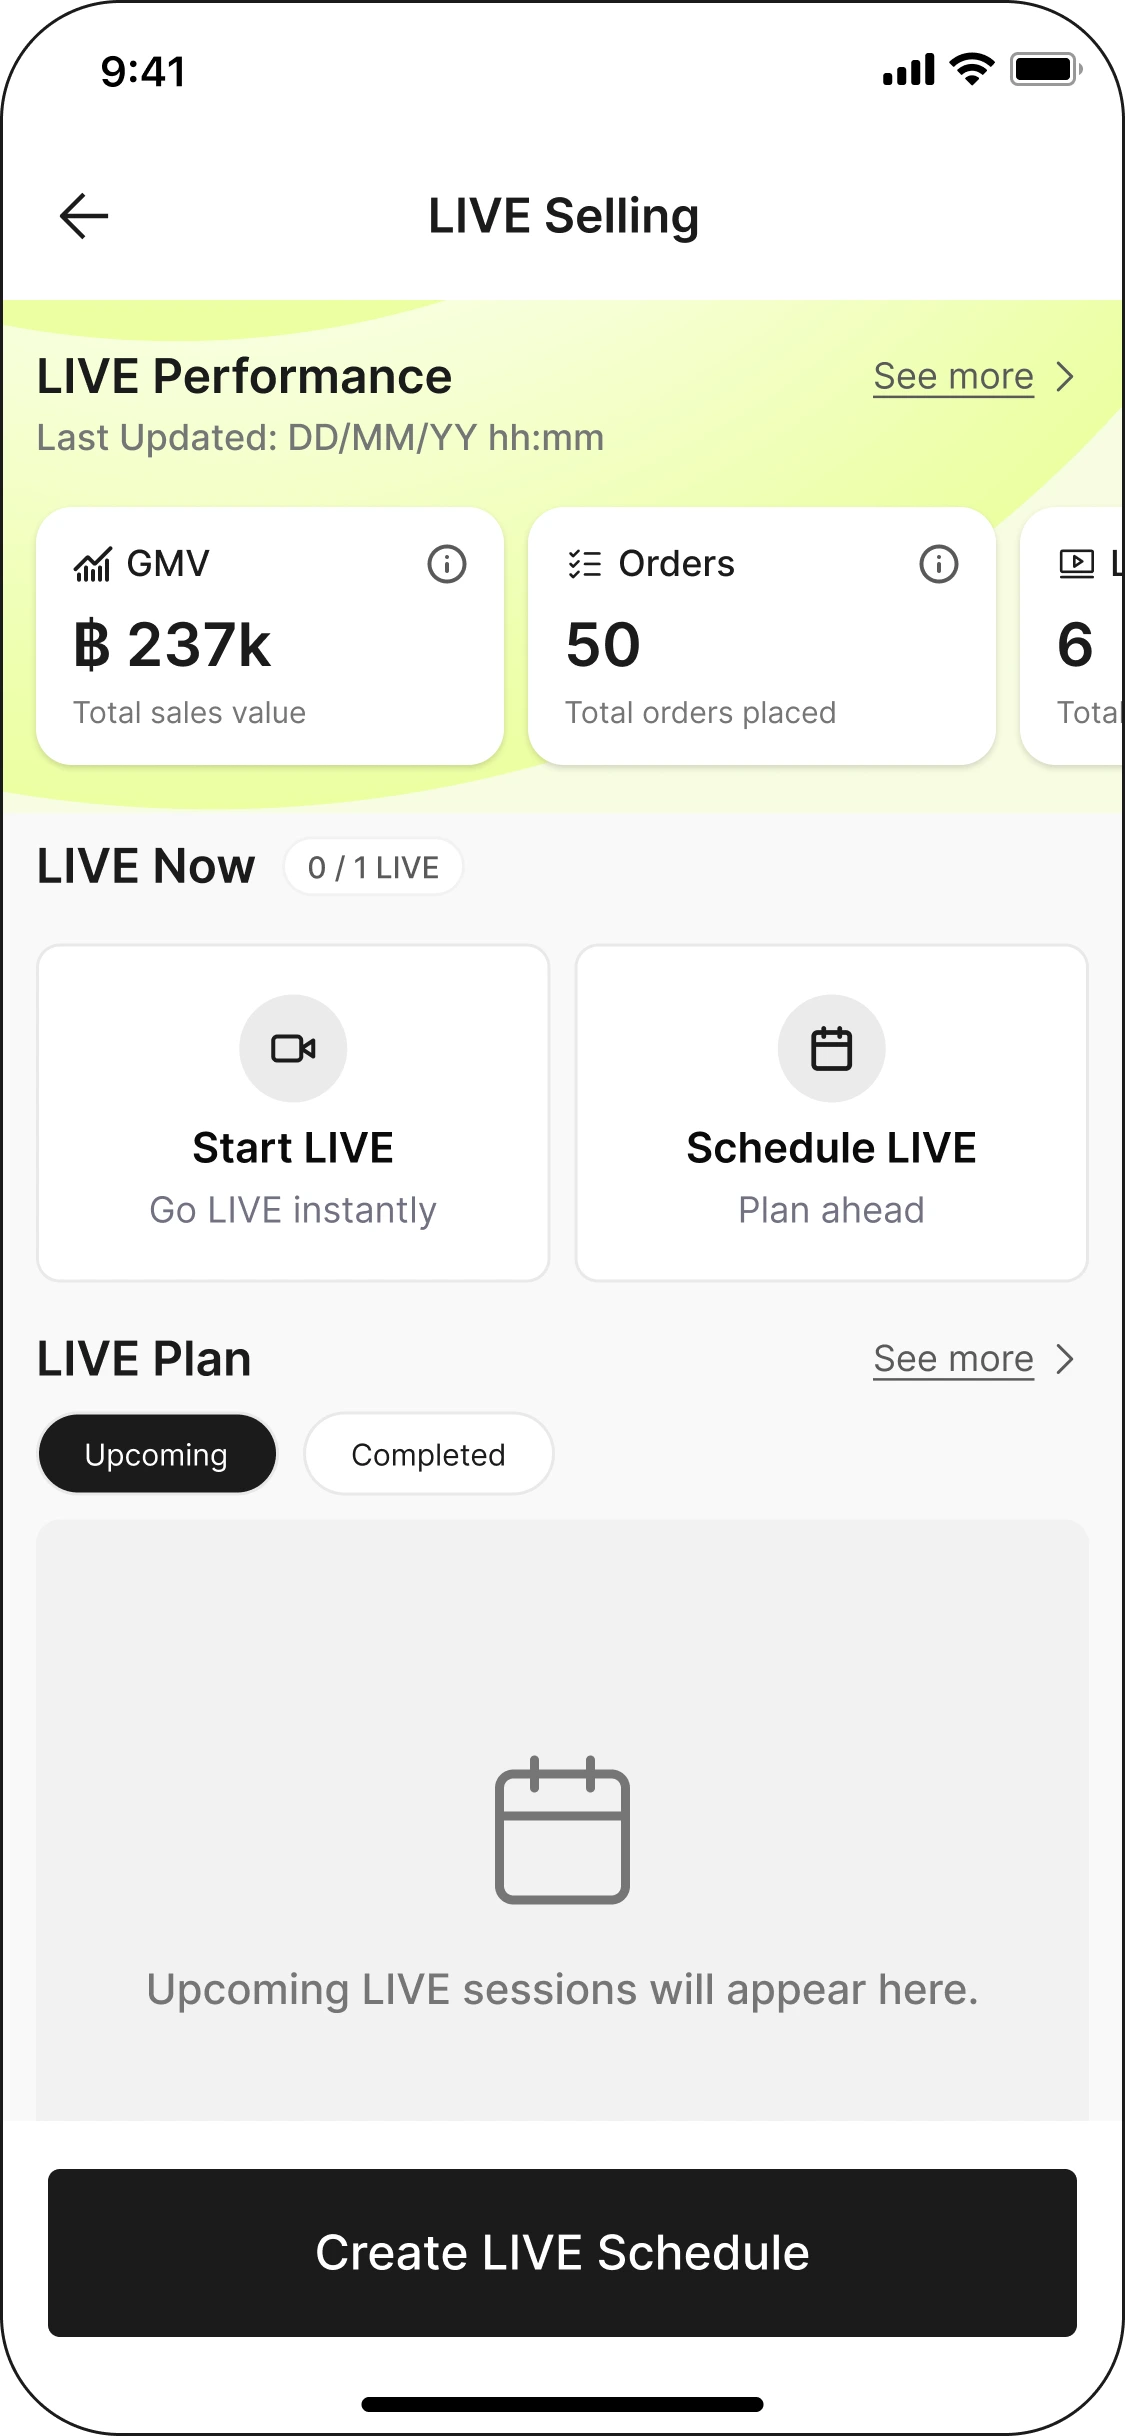
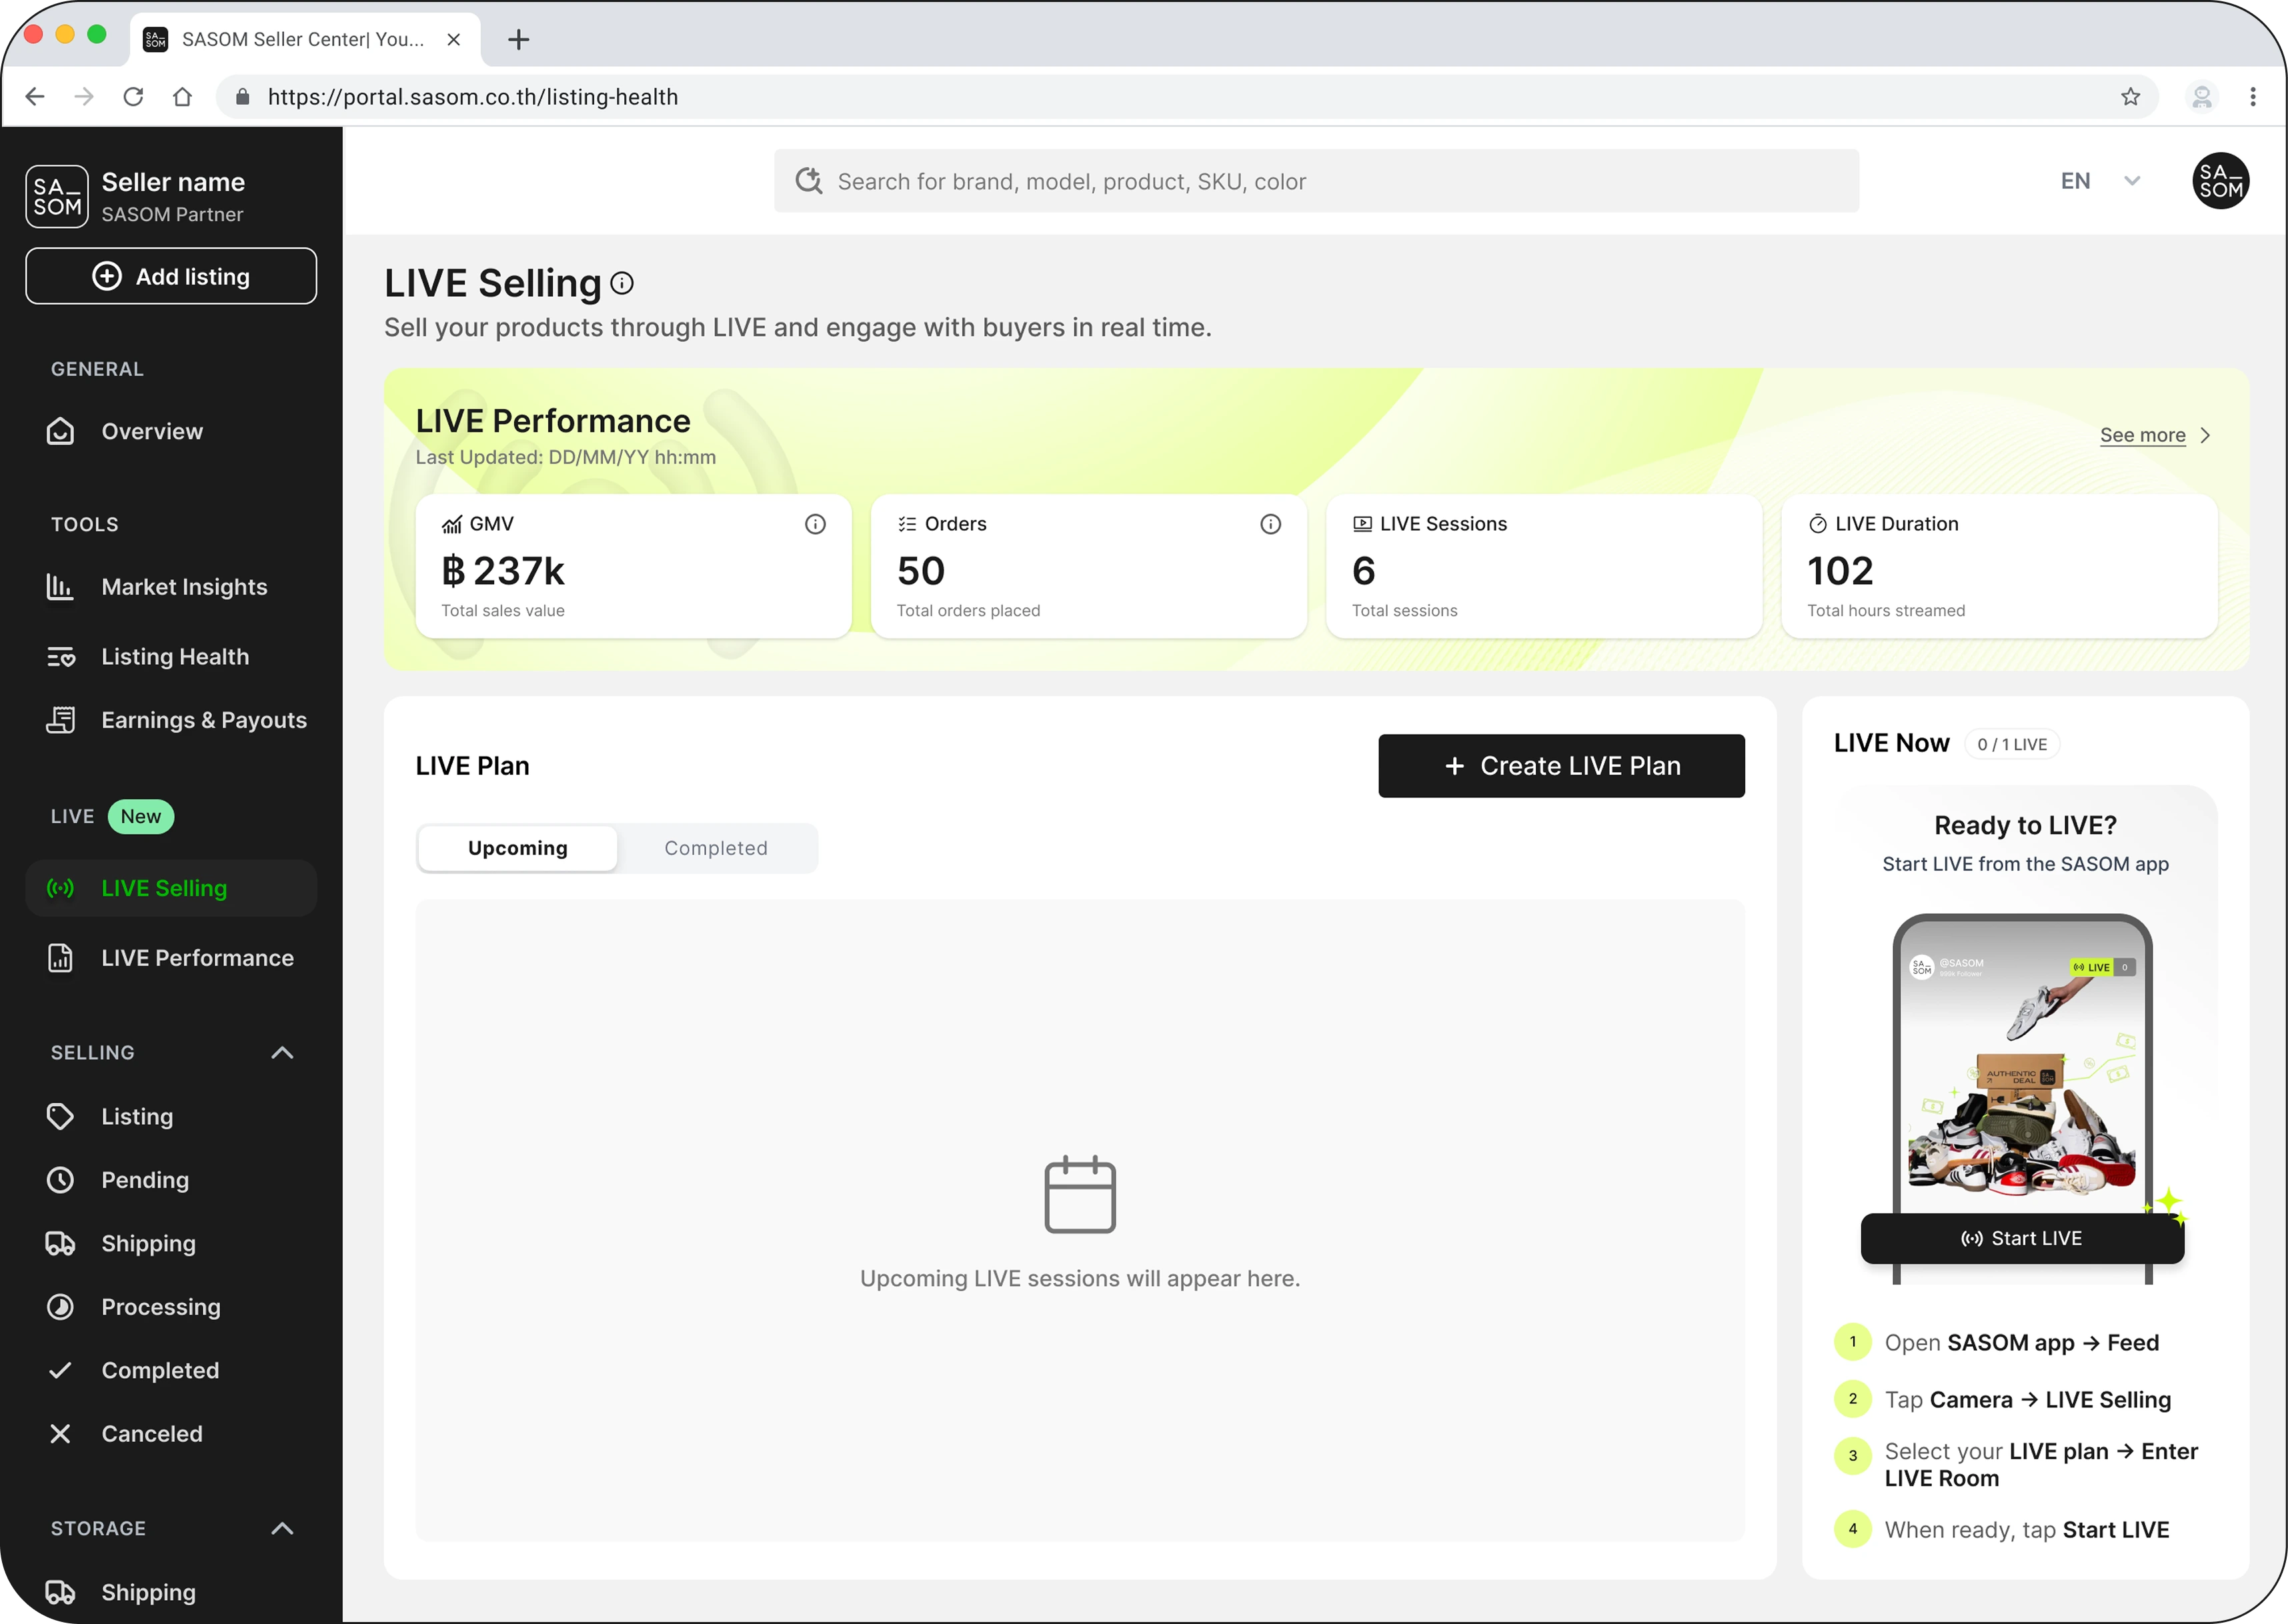
Once you have LIVE seller access, you can go live right away or schedule a stream for later. You can set up a LIVE from the SASOM app or the Seller Portal — the steps are the same — and broadcast either straight from the app or through desktop streaming software like OBS. This article covers setting up a stream, your title and cover image, the marketplace visibility option, and the OBS path.
✳ Don't have LIVE access yet? See How to request LIVE seller access first.
Go live now or schedule for later
You have two options:
- Create LIVE now — start broadcasting immediately.
- Schedule a LIVE — set a future date and time so buyers can find your stream in advance and get reminded when it starts.
✳ These steps work the same in the app and the Seller Portal — use whichever you prefer.
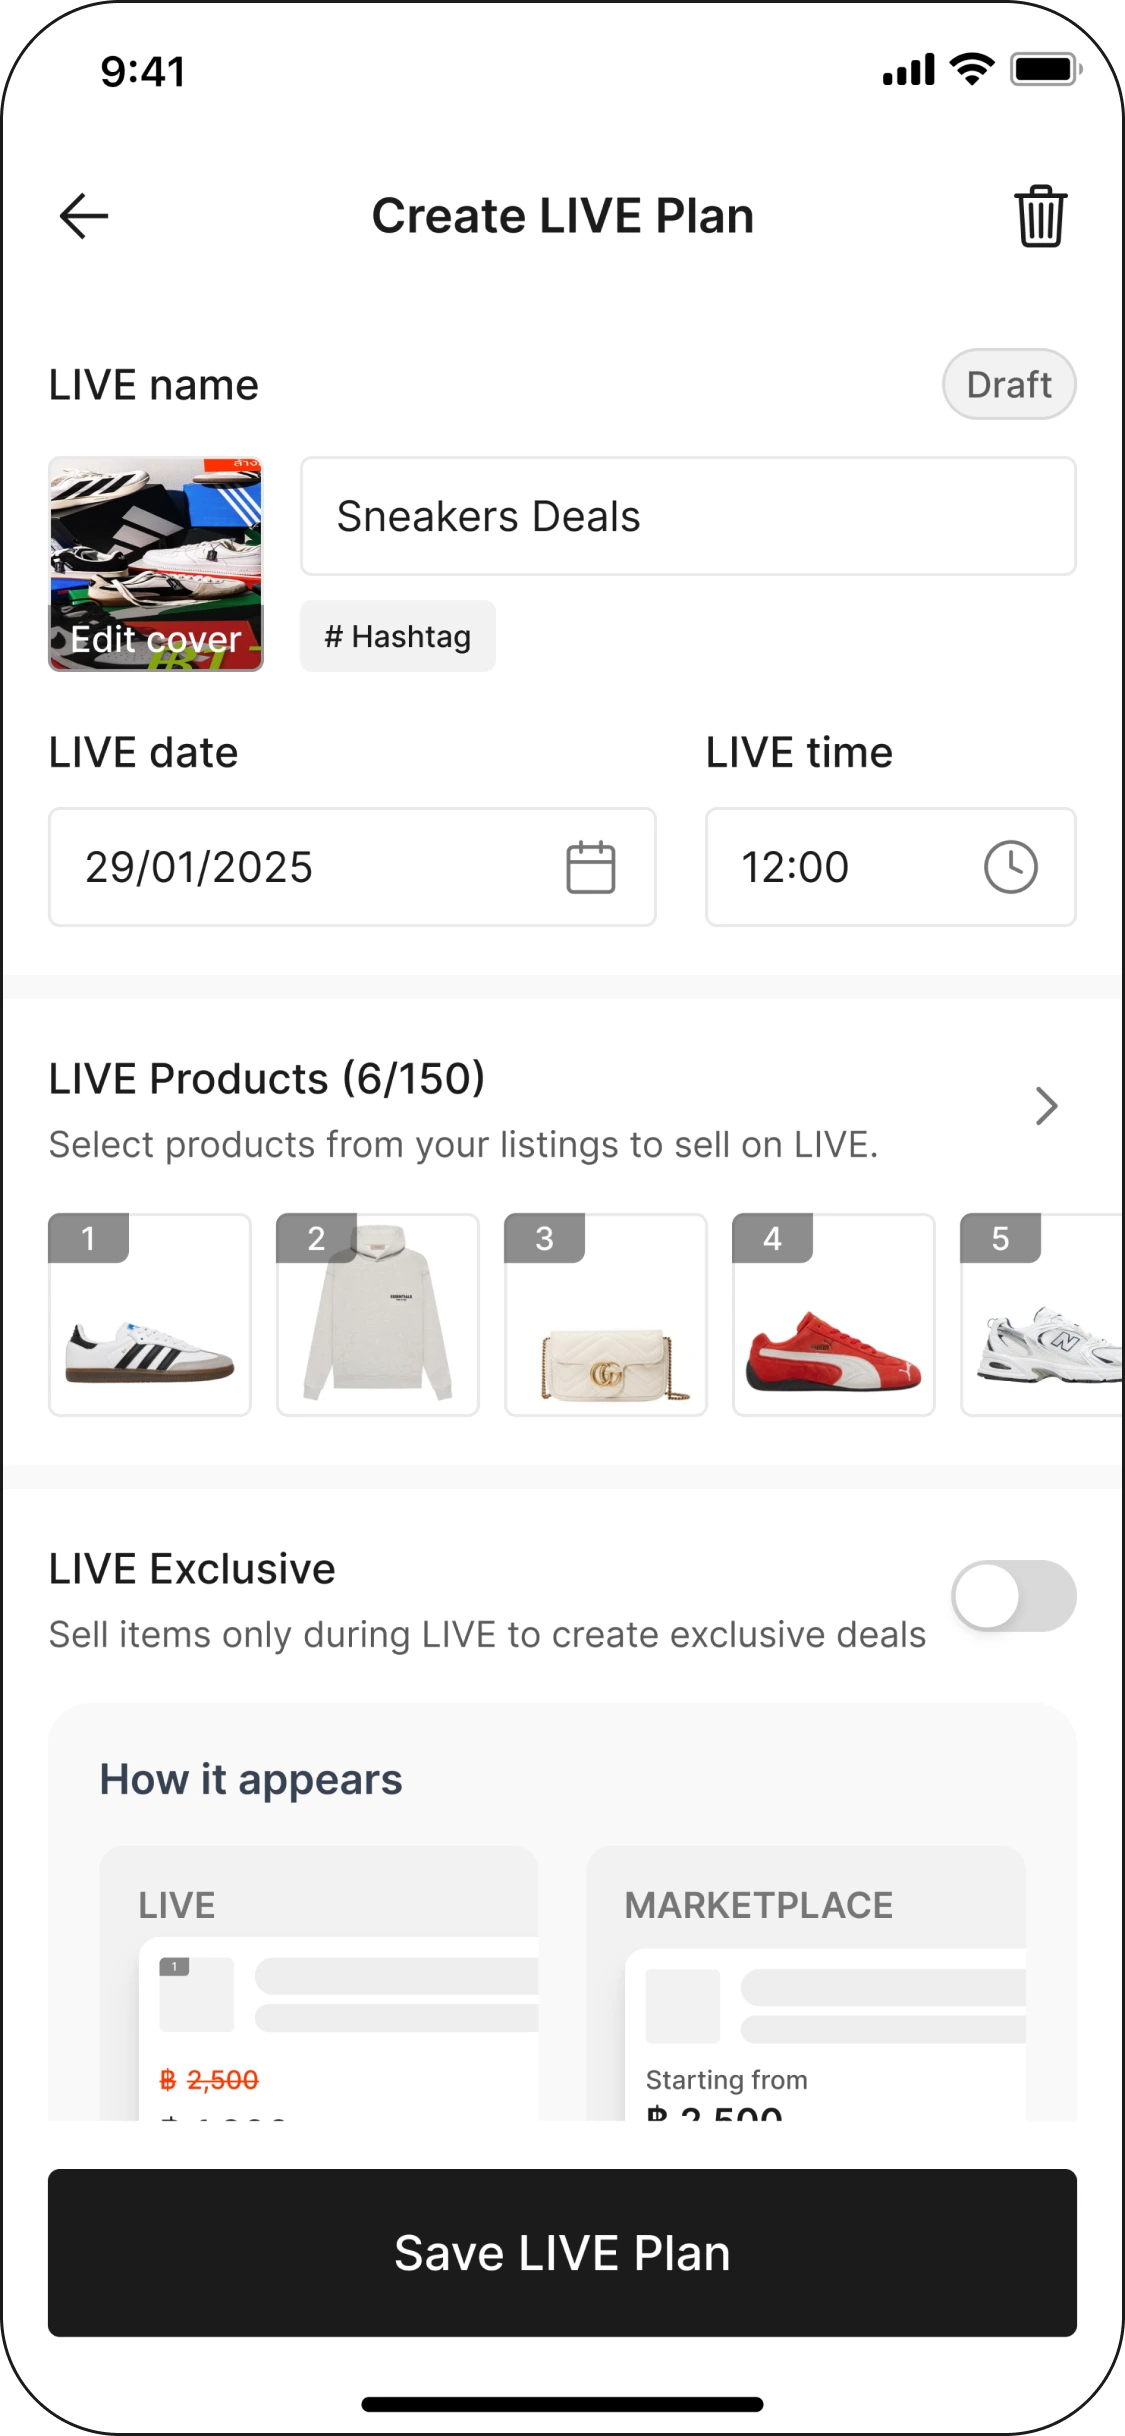
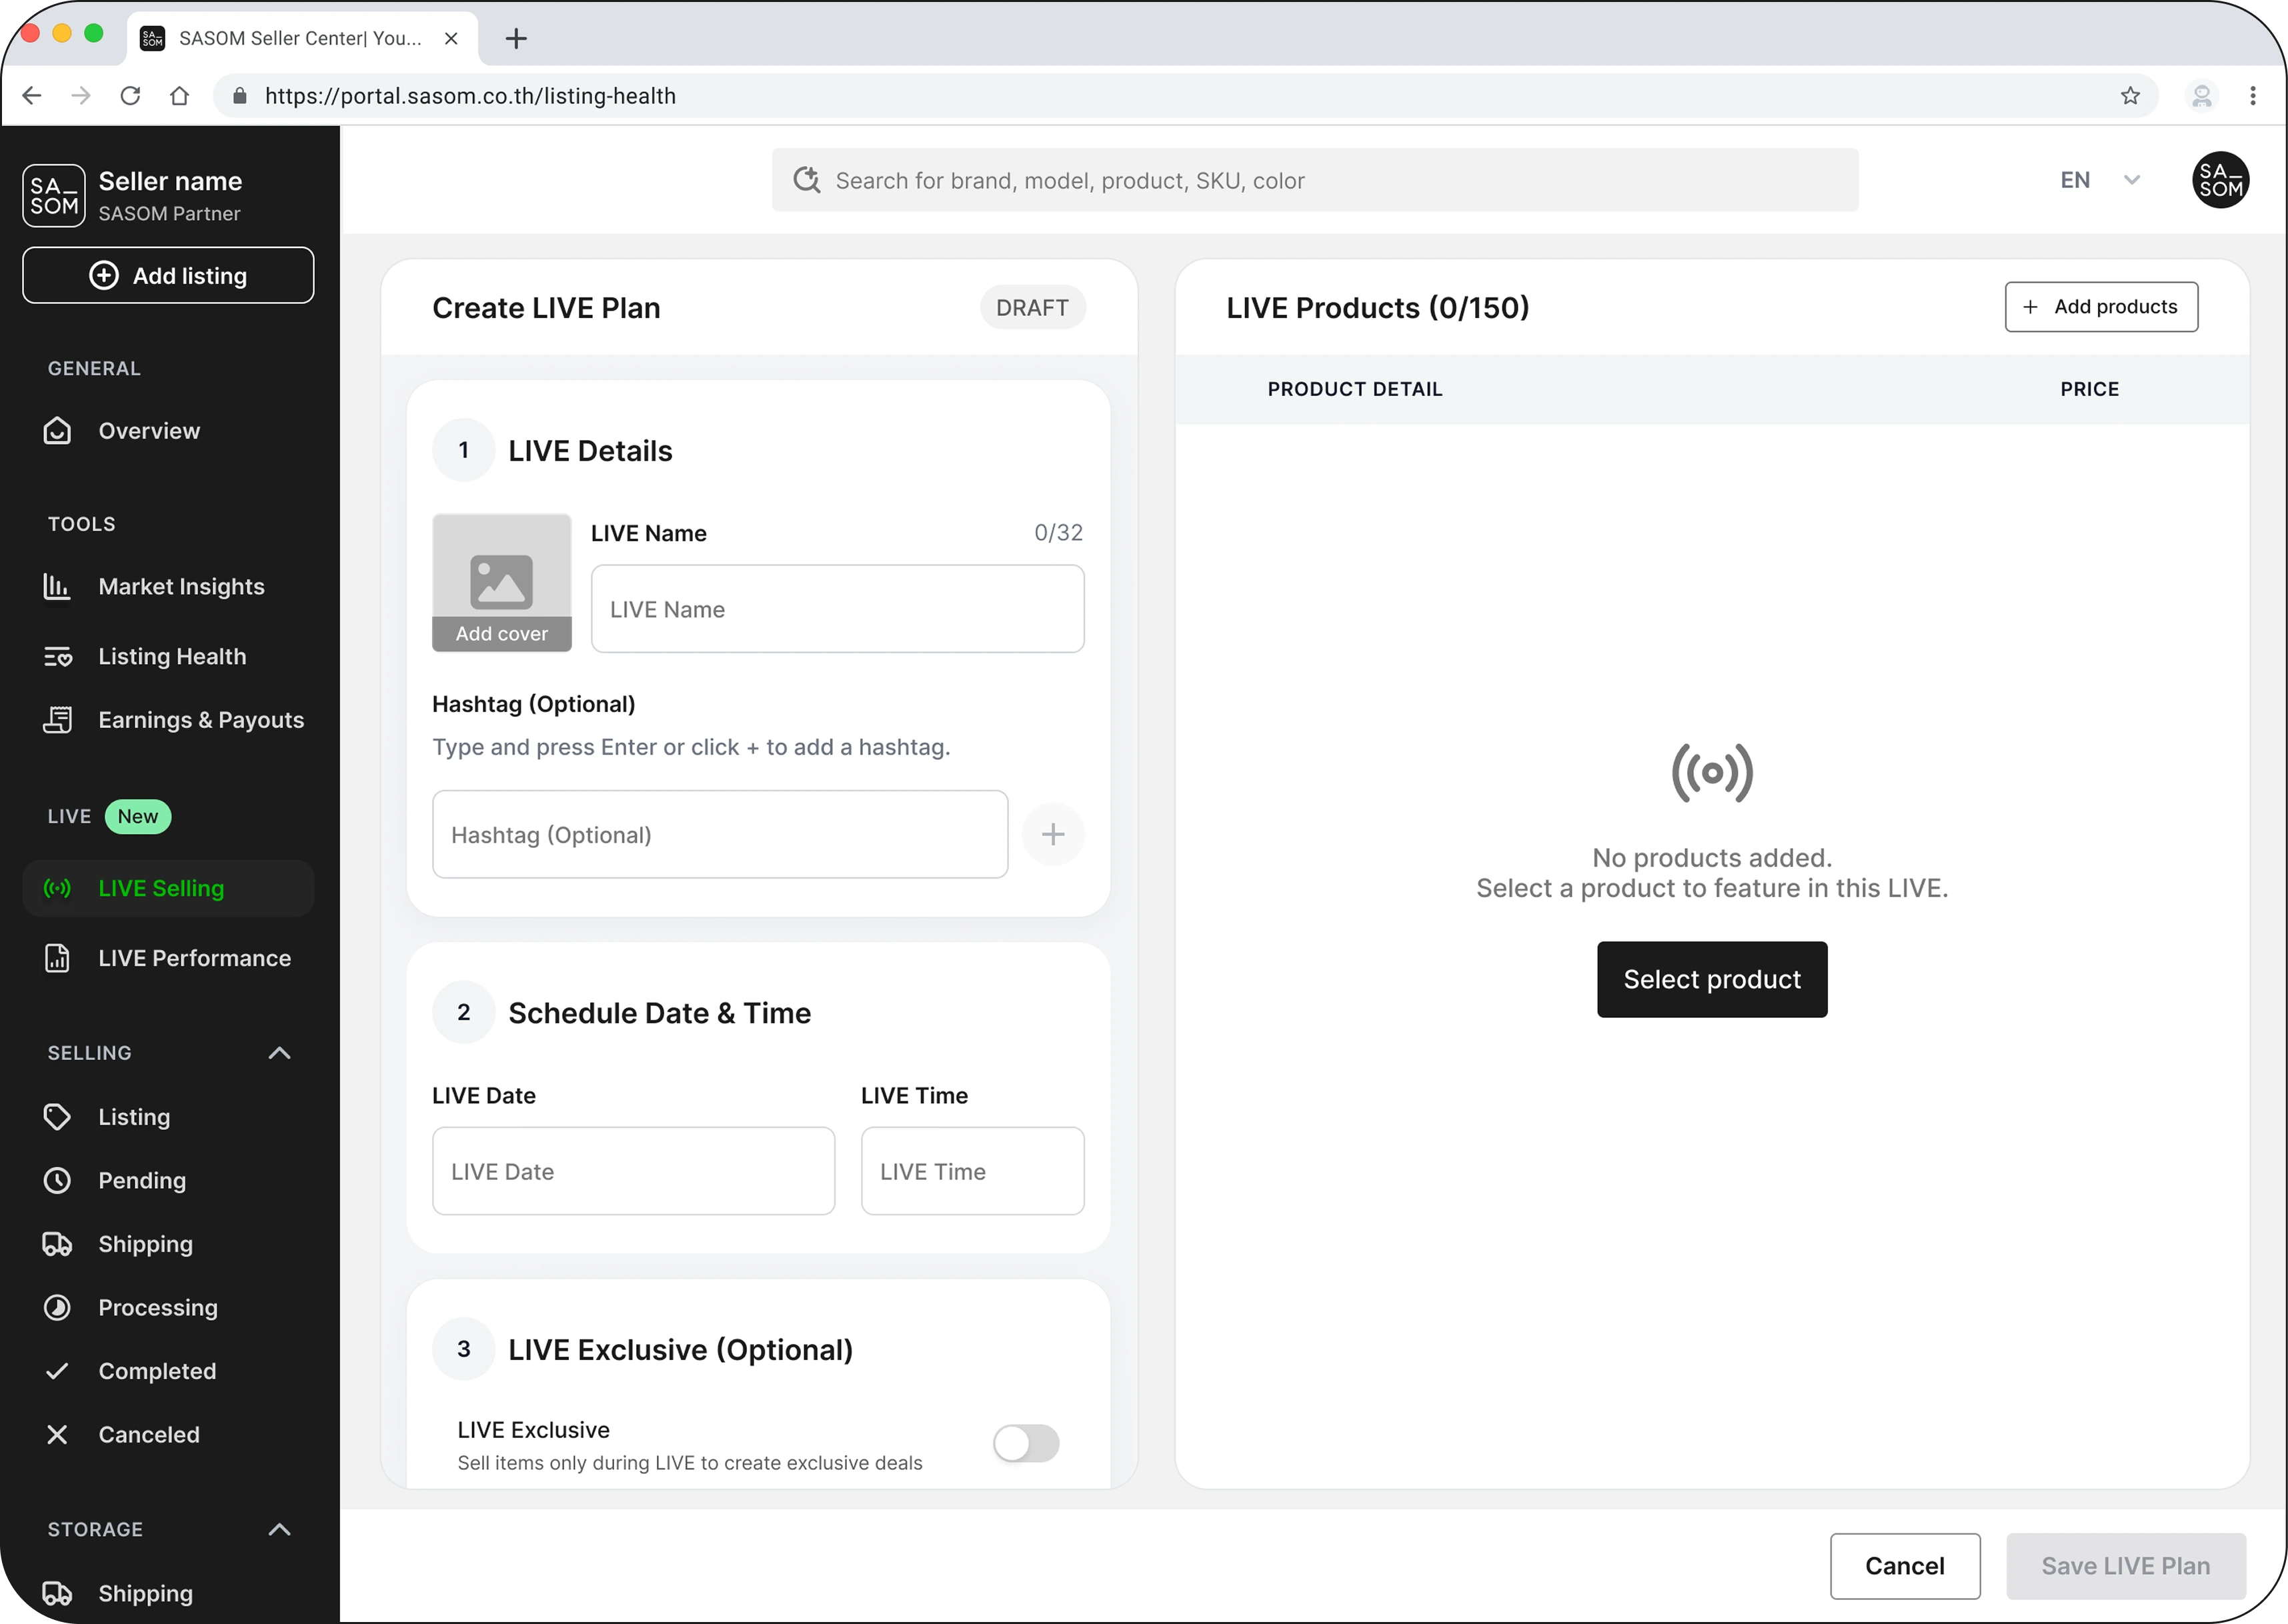
Step 1: Add a cover image and title
- Cover image — the thumbnail buyers see when browsing LIVE. Pick a clear, eye-catching image.
- Title — up to 32 characters. Keep it short and specific (for example, the drop or category you're featuring).
Step 2: Choose your marketplace visibility
Decide where your stream can be seen using the Show on marketplace setting:
- On — your stream is discoverable on the marketplace (Browse, landing, product pages, and the LIVE hub), so new buyers can find it.
- Off — your stream is visible only during the broadcast to people who already have the link or are in the session.
💡 Tip: Leave Show on marketplace on for maximum reach; turn it off for a private or invite-only session.
Step 3: Go live
Start your stream. While you're live you can add and manage products, pin items, answer questions, and run auctions — see Manage products during your LIVE.
Stream with broadcasting software (OBS)
Prefer a desktop setup with overlays, multiple cameras, or better audio? You can broadcast through streaming software like OBS using your stream URL:
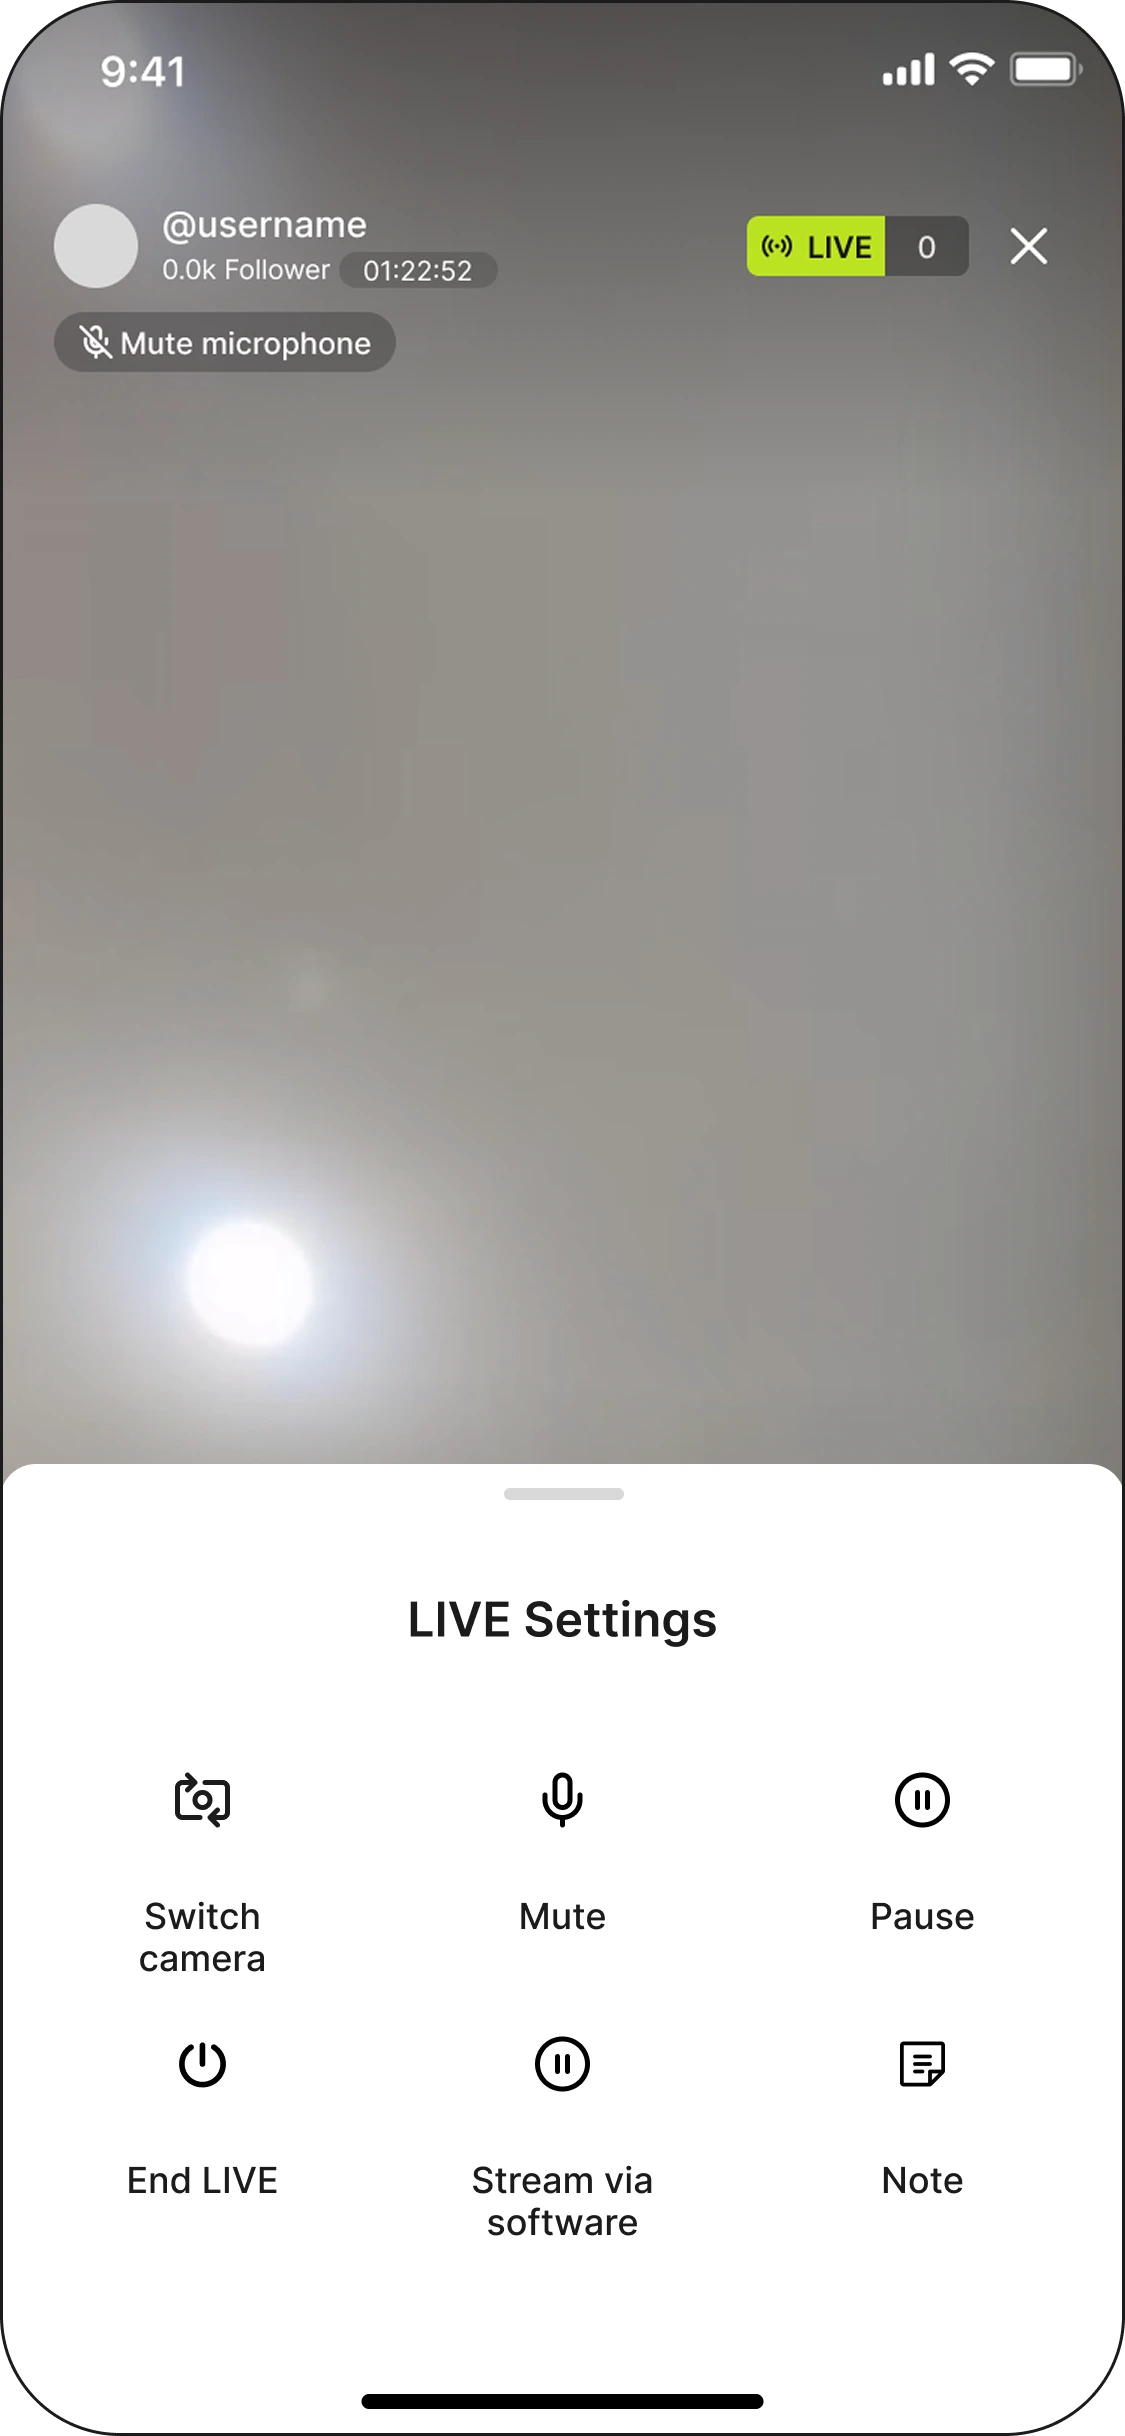
- Before you start your LIVE, tap More actions → Stream via software and copy the stream URL.
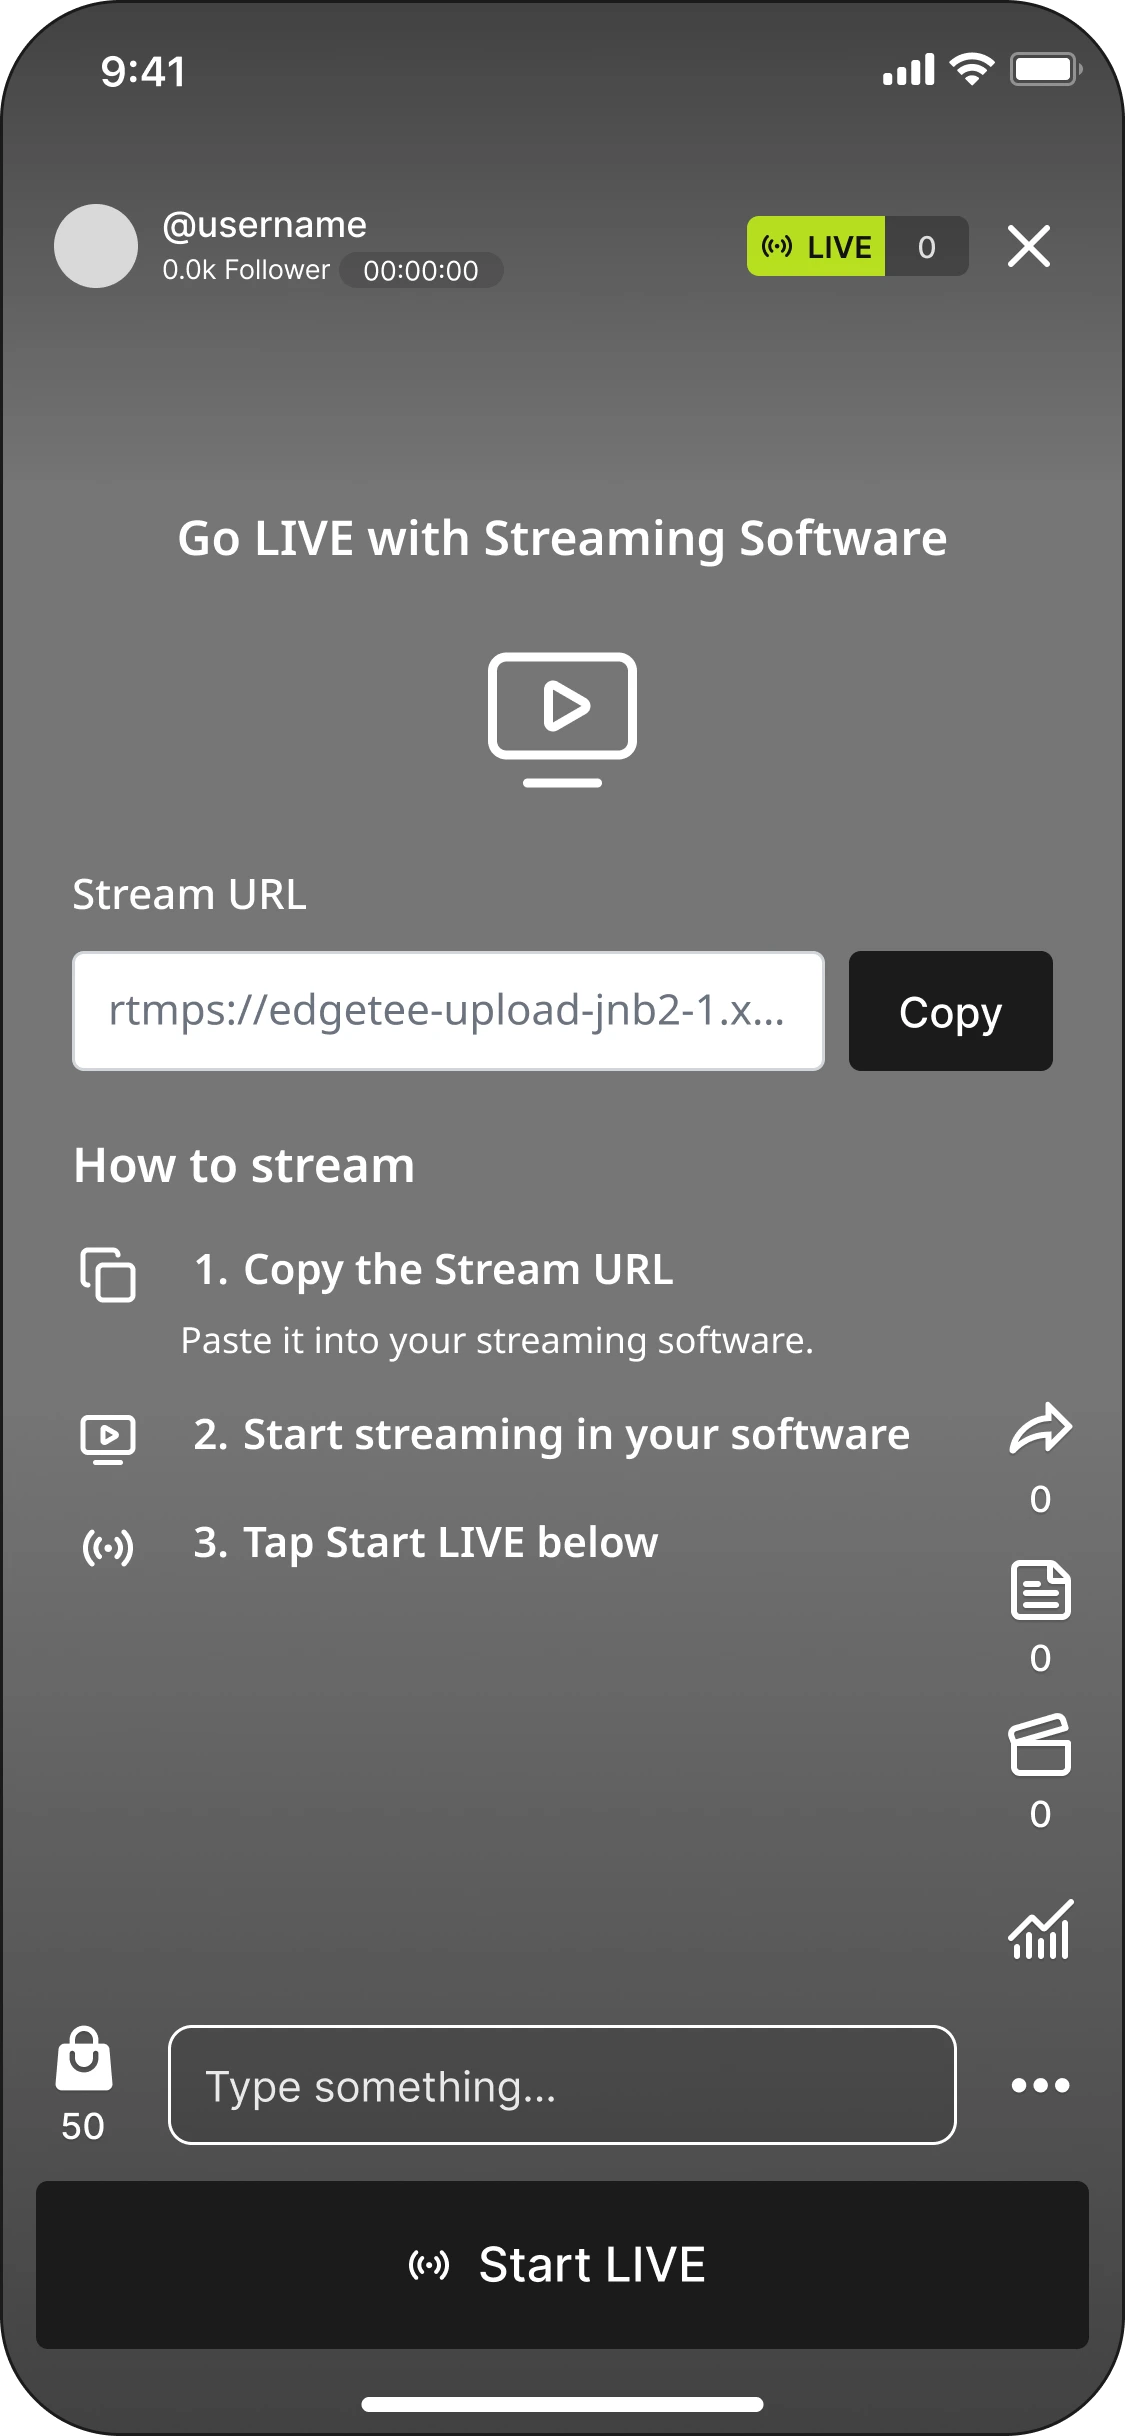
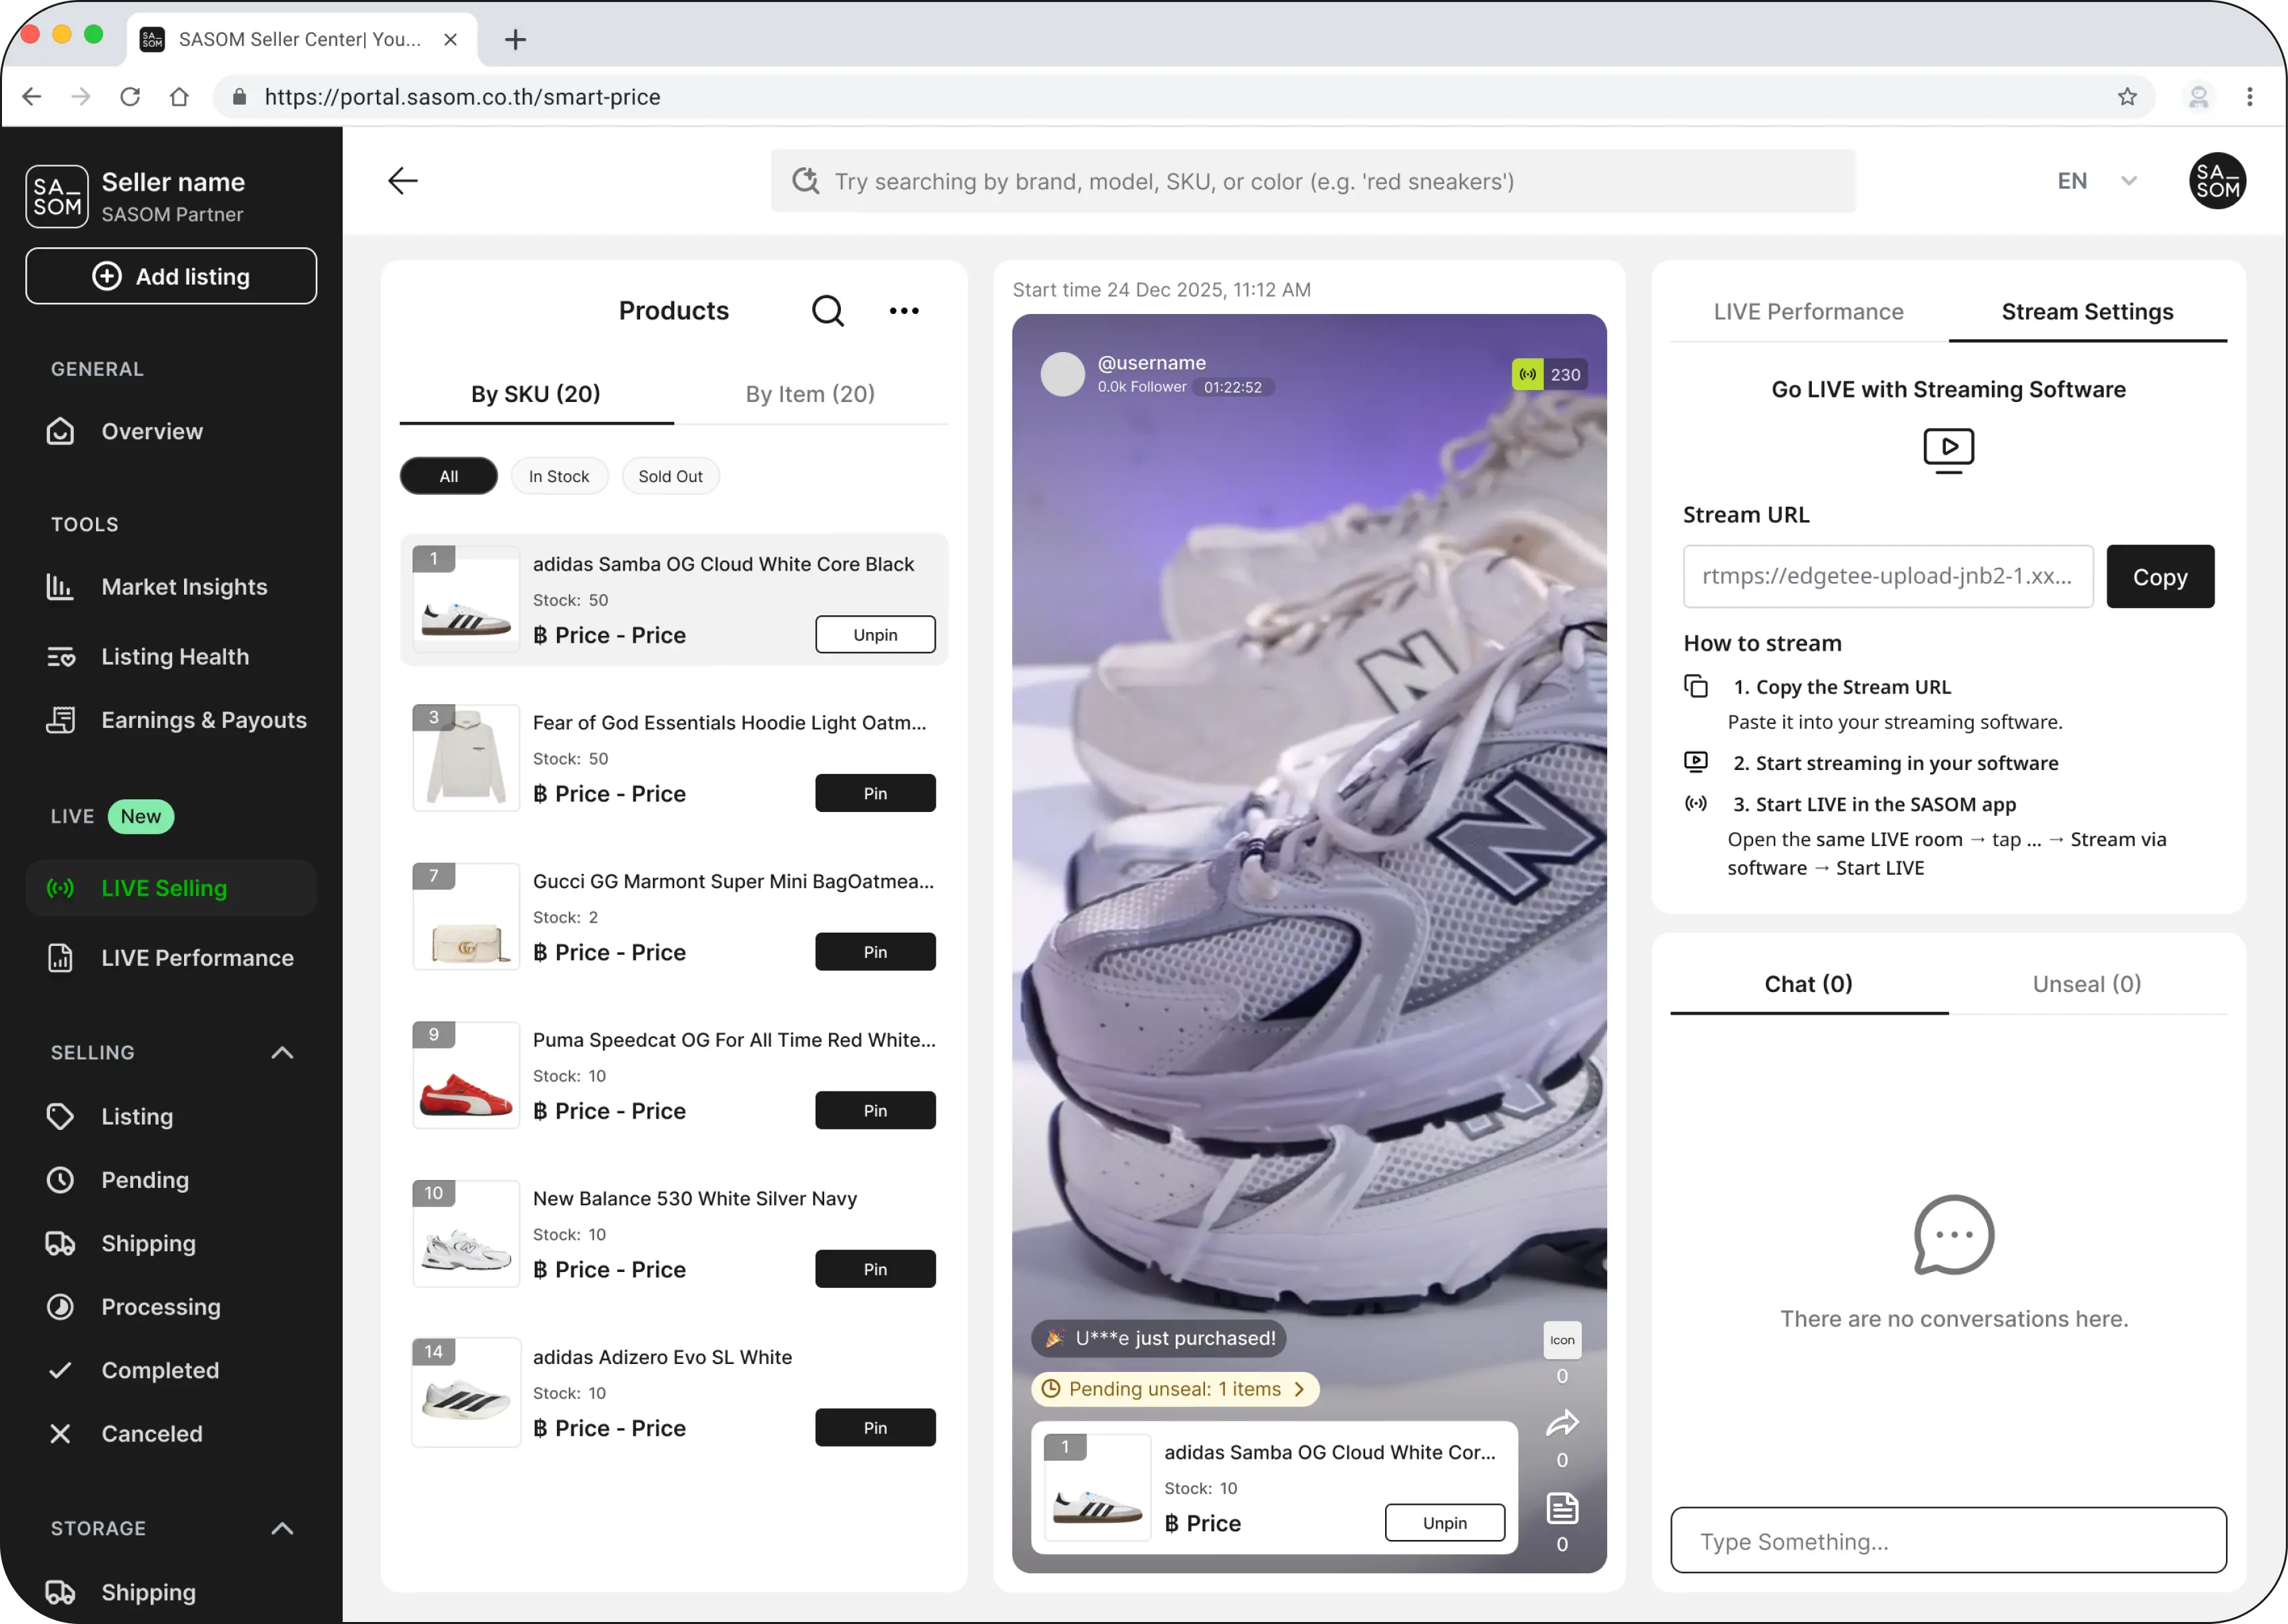
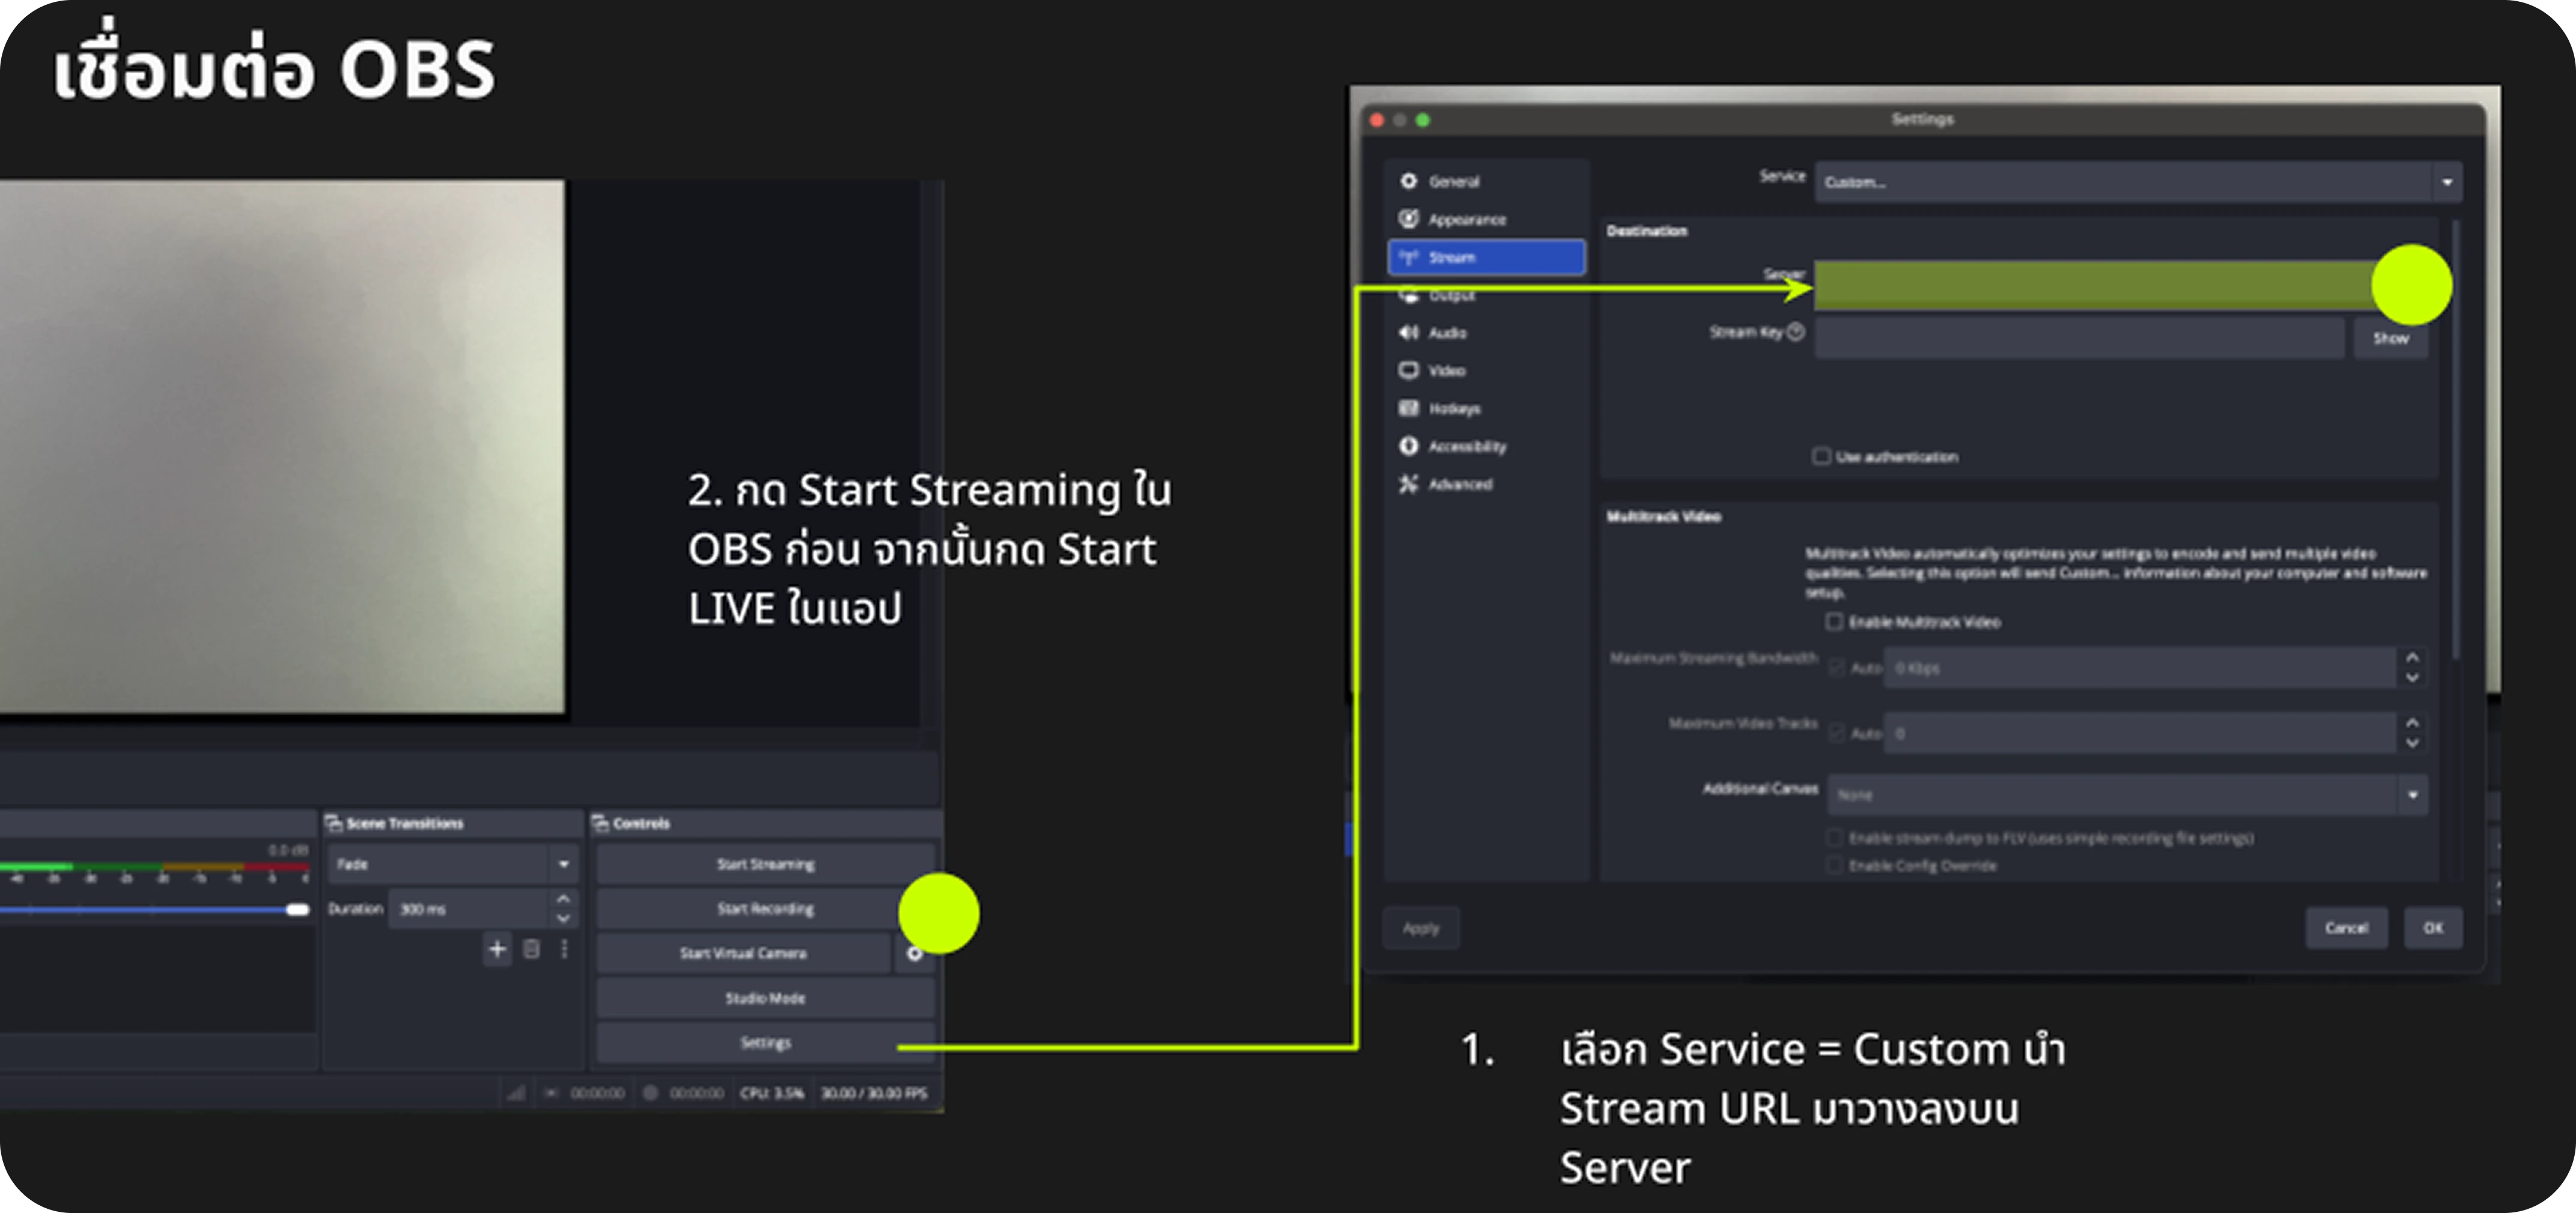
- In OBS, paste the stream URL into the custom server destination (Settings → Stream → Service: Custom).
- Click Start Streaming in OBS first, then tap Start LIVE in the app.
✳ Always start the stream in OBS before you tap Start LIVE, so your video is already flowing when the stream goes live for viewers.
Good to know: how a stream behaves
- A stream moves through these states: created → live → ended (you can also pause and resume while live).
- A stream has a 4-hour limit. If it runs past that window it expires automatically, so plan longer sessions in parts.
See also